
Maintaining Cedar Shingle Integrity: Key Installation Tips
November 27th 2020
From one season to another, wood expands and contracts. As a result, it is common for some cedar shingles to slightly move. After all, that is part of its charm!
However, it’s unusual for cedar shingles to cup and curl extensively across the surface. When this occurs, it’s typically due to installation issues.
Here are three basic principles for best results:
1- Spacing between each cedar shingle
Prior to installation, always check the shingles’ relative humidity level. This will enable you to accurately determine the correct spacing required for your cedar shingles to expand without constraint.
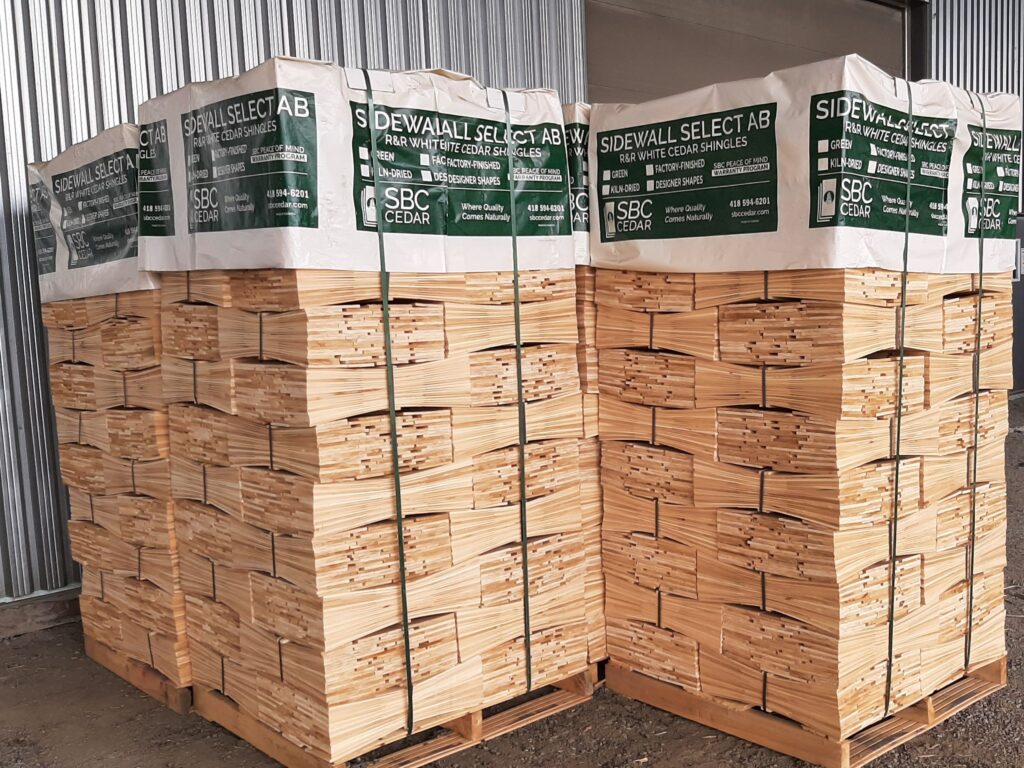
Wood has a dynamic nature influenced by environmental conditions. Cedar shingles, for instance, undergo fluctuations in moisture content in response to temperature changes. During installation, it’s essential to consider these dynamics. Freshly-cut (green) shingles typically have a humidity level of 25% to 35%, contracting in sunlight and expanding when exposed to rain. Conversely, kiln-dried or factory-stained shingles, with humidity levels between 10% to 14%, are “pre-shrunk” and will expand in moist conditions.
For pre-stained or kiln-dry shingles, always leave a minimum 1/8″ to 1/4″ gap between each piece depending on the humidity level recorded. If your shingles are large or very dry, it is best to go with 1/4″.
For “green” shingles, leave 1/16″ to 1/8″. Refer to this article to learn more about installing green shingles: How to store natural “green” shingles?
2- Exposure
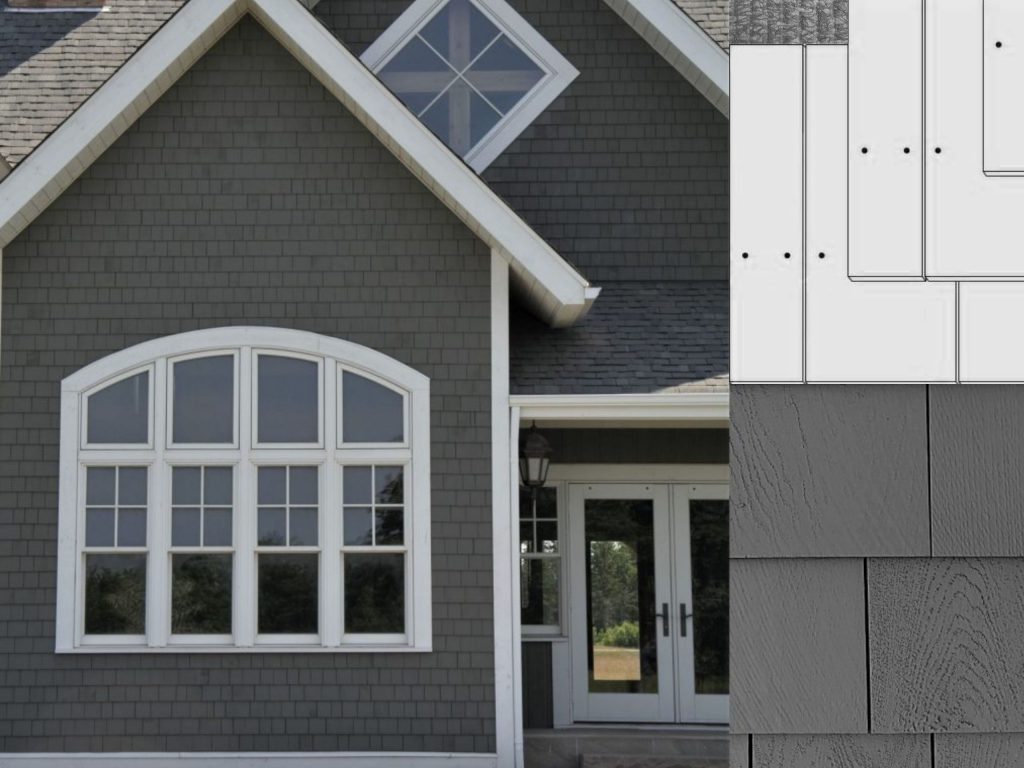
The exposure is the exposed surface of the shingle once installed. It is important to keep it at a maximum of 5″ to help maintain the pressure that shingles exert on each other to avoid cupping and curling.
3- Fasteners
As for the fasteners, make sure they are placed 3/4″ on each side and 1″ above the butt-line of the preceding course. To help you, each shingle has an embossed nailing line on one side (at 6 1/8″) to guide the installer in aligning the fasteners.
If you are using air tools, don’t forget to adjust the air pressure so that the fasteners are flush with the shingle.
By respecting each of these principles, your shingles siding will retain all its charm for many years to come. In doubt, refer to our Installation Guide that can be found in the SBC Library.
You could also like

Cedar Shingle Face Selection: Expand Your Options with SBC
April 5th 2024
When it comes to siding options for your upcoming project, nothing quite matches the timeless appeal of cedar shingles. At SBC, we take pride in offering top-quality cedar shingle siding, including our renowned factory-finished collection. Let’s explore one of the exclusive features of SBC cedar shingles.
Read more
HOW TO STORE NATURAL ‘’GREEN’’ CEDAR SHINGLES?
October 3rd 2022
Your project is well underway, you’ve already received your raw cedar shingles, but the installation is scheduled for spring. Great! You are very proactive! You thought that you could store them all winter long in a dry and heated space, like a garage maybe? Read this before the installation to make sure to get awesome […]
Read more
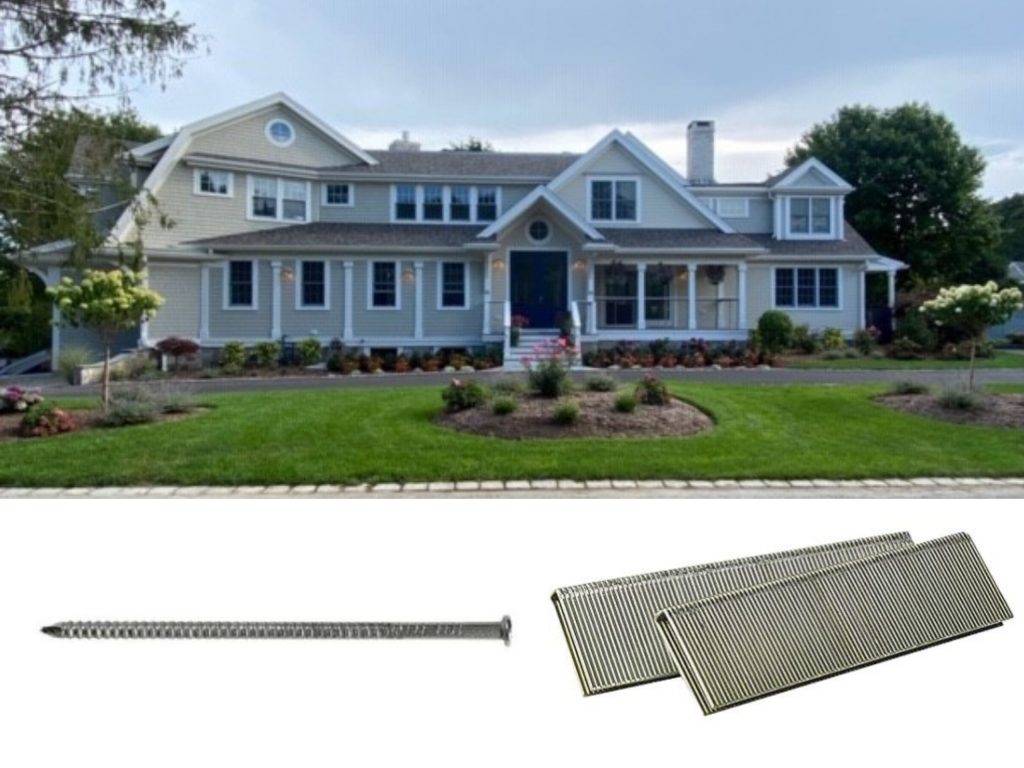
What kind of nails/staples should I use to install cedar shingles?
January 19th 2022
Well, it’s a good thing you asked because it’s essential to choose the right material before starting your project. Rust-resistant fasteners should be your final choice. We recommend stainless steel fasteners, hot-dip galvanized, or aluminum.